
October 30, 2026


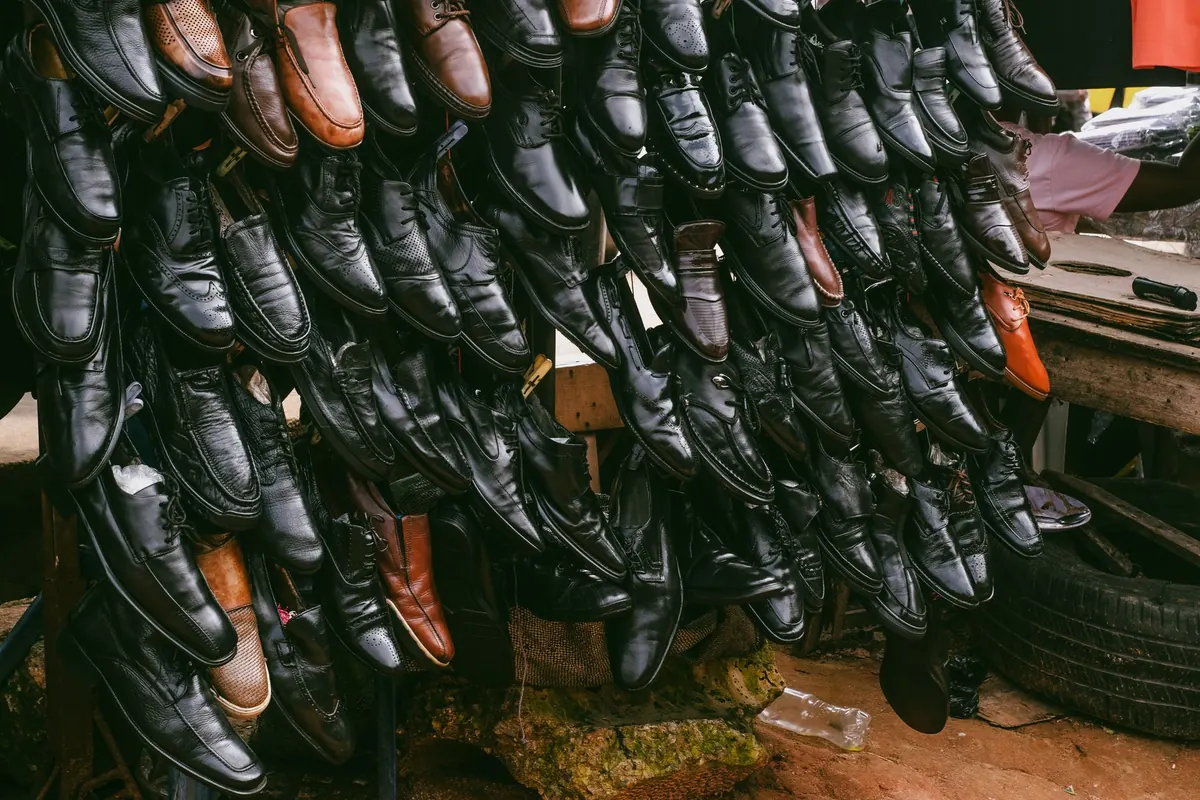

Turn a shoe over in a shop and most of the story is already there. Not the colour, not the display lighting, but the edge of the sole, the line where the upper meets it, and the way the leather folds when you press it. Learning to read those few details changes how you shop. You stop paying for shine and start paying for the things that decide whether a pair can be worn hard for a decade or falls apart quietly after two winters.
The single most useful question about any leather shoe is simple: can a cobbler get the sole off and put a new one on? Everything follows from that.
Stitched construction is the answer you want. In a Goodyear-welted shoe, the upper is stitched to a welt — a strip of leather running around the edge — and the outsole is stitched to that welt. Look for a visible line of stitching sitting slightly proud of the sole edge, and a thin leather midsole between upper and outsole. This shoe can be resoled several times over its life, and the stitching can be redone rather than glued over.
Blake stitching is a slimmer alternative: the outsole is stitched directly through the upper from the inside. It's a genuinely repairable method and makes for a lighter, more elegant shoe, though there's less material between your foot and the pavement, and the sole is usually replaced fewer times before the upper starts to suffer.
Cemented, or glued, soles are the default in most of what you'll find on a high street. They aren't automatically bad — some well-made shoes use the method — but resoling means gluing a new sole onto a shoe that was never built to be opened up. Once the upper is sound and the sole is gone, the pair is effectively finished.
Here's a quick way to tell them apart in the shop:
Full-grain leather is the top layer of the hide, with the grain intact. It takes polish well, creases into fine, soft lines across the vamp, and improves with age. Corrected-grain leather has been sanded and coated to hide scars and even out the surface. It looks flawless on the shelf and behaves very differently after a month of walking: the coating creases into sharp folds, and at the fold it can whiten, crack, or lift away from the hide beneath.
You can test this before buying. Press your thumb firmly into the vamp — the wide part over the toes — and watch what happens as the leather buckles. Full-grain leather folds into a cluster of small, radiating creases. Corrected grain folds once, sharply, like a sheet of card. Bonded leather, made from scraps held together with a binder, is worth avoiding entirely in shoes you plan to keep.
Finish matters less than the leather underneath. A dark polish can hide a great deal; a natural or lightly finished leather cannot. If you're unsure, look at the shoe in daylight near a window rather than under the shop's spotlights, and turn it so light rakes across the surface. Unevenness in the grain is usually a good sign, not a flaw.
Look at the stitching on the upper itself. It should sit in a clean, even line, slightly recessed rather than sitting on top of the leather. Long, loose stitches and thread that pulls freely are a sign of speed rather than care. Pull gently at a seam with two fingers; it should feel anchored.
A leather lining absorbs moisture and wears in against your foot. Synthetic linings are common and not fatal, but they tend to trap heat and can split before the outer leather shows any wear. Squeeze the back of the shoe where your heel sits: the counter should be firm enough to hold its shape, not collapse between your fingers. That stiffening is what stops the heel from breaking down and rolling outward over time.
Press the insole with your thumb. Leather gives and springs back; a foam-covered board feels spongy and flat. Then hold the shoe at the heel and toe and bend it. It should flex where your foot flexes — across the ball — and resist folding in the middle like a slipper. A shoe that collapses at the arch gives no support and wears unevenly.
A leather sole is elegant, breathable and surprisingly grippy on dry pavement, and it's the easiest kind to replace. It's also slippery when new and unforgiving in wet weather, which is why many good shoes come with a rubber or rubber-studded sole instead. Either is fine. What matters is that the sole is attached in a way that allows replacement, and that the heel has a separate top piece.
Heel tips wear out first, always at the outer back corner. Replacing them while they're still thick is cheap and quick; ignoring them until the nail heads show means the repair moves into the heel stack, and the bill triples. If you buy one pair of shoes this year, ask the shop or a local cobbler what a heel tip replacement costs before you need it.
Poor fit destroys shoes faster than bad weather. A shoe that's too short creases in the wrong place and splits at the flex point; one that's too wide lets the foot slide, and the upper stretches where it shouldn't.
Try shoes late in the day, when your feet are at their largest, and wear the socks you'll actually pair with them. The ball of your foot should sit at the widest part of the shoe. There should be a small amount of room beyond your longest toe — enough to feel air, not enough to slide forward. A little heel slip is normal in a new leather-soled shoe and usually settles as the sole breaks in; your heel lifting clear of the shoe with every step is not.
Walk on a hard floor, not carpet. Listen for the fit: a shoe that pinches now will pinch later, because leather stretches across the width but almost never in length.
Before you commit to a repair, check the upper. Cracking along the flex creases, a coating lifting at the toe, or a split where the upper meets the sole usually means the end. If the leather is intact and the sole is stitched, the shoe is almost always worth saving — a resole and a new heel tip cost a fraction of a comparable new pair, and the upper will have moulded to your foot in a way a new shoe hasn't.
Two habits extend the interval between repairs: rotate your pairs so each one dries out fully between wears, and use shoe trees while the leather is still warm from your feet. Neither is glamorous. Both work.
Do that in the shop and you'll buy fewer pairs, wear them harder, and hand them to a cobbler with confidence instead of resignation.
Photo: Raphhill .Jpg / Pexels

Daily style, beauty, and life inspiration..
Copyright © 2026 Ambra Oggi. All rights reserved. Ambra Oggi.